By Andrew Ahearne Sep 05 2022
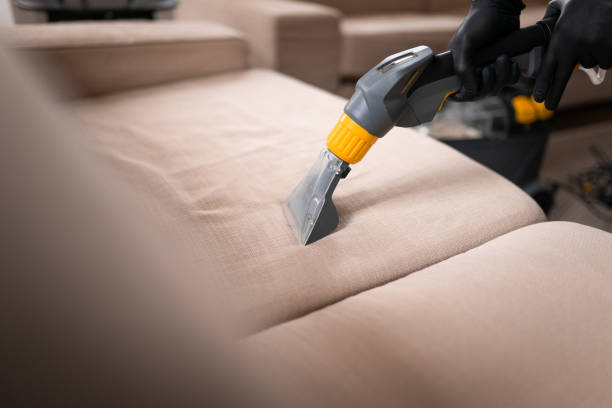
Ever need to wear a suit for a special occasion? There are different ways to make it look nice and brand new. Some consider dry cleaning or steaming. It’s recommended to take your suit to professionals since they have all the equipment and experience to know what to do. If you need a professional ironing service, we can help you out. Sidepost is a reliable ironing service provider in Melbourne, Hobart, Canberra, Adelaide, Gold Coast, Sydney, and Brisbane.
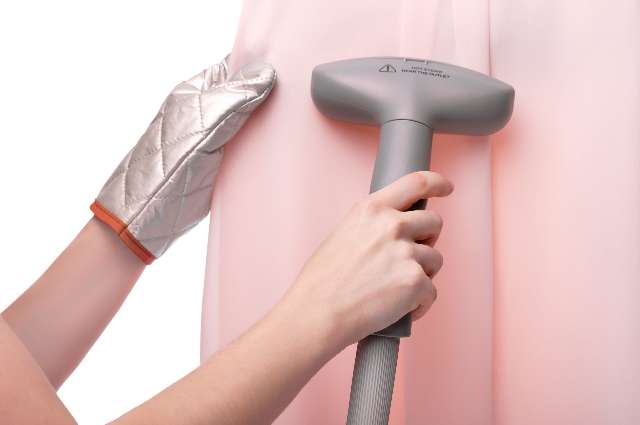
However, this could be expensive. If this is a concern and you only have a regular iron at home, you might wonder if you could just iron your suit instead.
The short answer to this question is yes. You could iron a suit. Of course, you should first take note of various considerations since the suit is quite delicate unlike other clothes. But even if the process seems daunting at first, don’t worry! Follow this guide, and you can get your suit looking great.
Why should you iron your suit?
Before anything else, you might be thinking, is ironing the suit myself actually worth it? Well, imagine you’re going to a big formal event. You take out a suit jacket and see that it’s unfortunately very wrinkled. Like any other clothing, this affects how the garment looks overall. This is heightened especially for formal wear like suits.
This is where ironing your outfit comes in. Especially if you don’t have time or access to a professional cleaner, going through the process yourself can get you ready in no time. You’ll look sharp and at your best when you’re wearing a suit jacket and pants that are wrinkle-free. As a result, you’ll feel more comfortable and confident with what you’re wearing.
How to iron your suit
Preparations before starting
Before you begin the process of ironing, you first need to ensure that you have all the essentials ready. Prepare the following items and check if they’re in suitable condition for you to use:
A clean iron
It’s essential to use a clean iron. If it has rust or other dirt and you use it on your suit, your clothes will get ruined as these could leave stains. Before you begin, it’s best to test it on an old cloth first to see if it would leave any substance behind.
Clean jacket and pants
Of course, you’d need the garments themselves ready too. Like the iron, you need to ensure that the very articles of clothing you’re working on are clean. If your suit is unclean and has particles on it, ironing over them might permanently get them to stick on the fabric.
Distilled water
Use distilled water to fill your iron. Using regular tap water might come with sediments, which could also ruin your garment if you use this water for steam.
Pressing cloth
Since suits are usually made from delicate fabrics, placing the iron directly on these clothes can damage them. To avoid this, you will need to use a pressing cloth to serve as a form of protection between the suit and the iron. For example, using a linen handkerchief would do.
Ironing board
While you might be tempted to just iron on a table, it’s still best to use an ironing board. You don’t need to get something fancy, as a basic ironing board would do. This would help you efficiently press on the necessary parts of your suit.
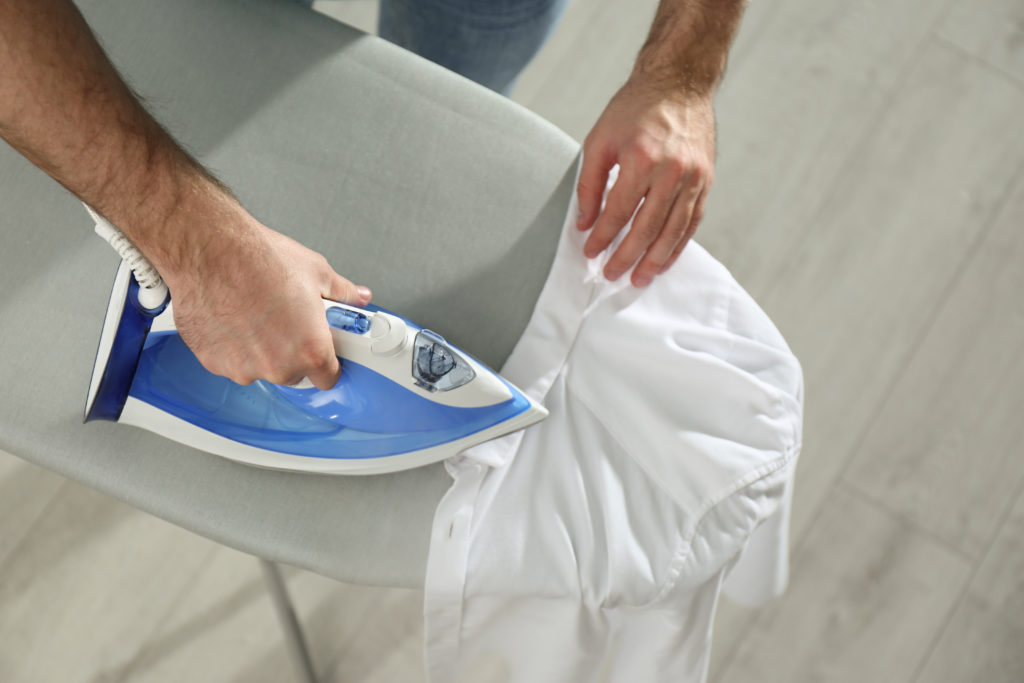
Now that you’ve prepared the necessary materials, it’s time to get to ironing your suit.
Use the right heat setting
First, ensure that your iron is on the right heat setting. This would depend on the material of your suit. For example, while you would use a hot iron for linen jackets, you should use medium heat for satin or wool jackets.
You can also just look at the tags since suits usually come with instructions about ironing the garment and which temperature to use.
- One dot – Low heat
- Two dots – Medium heat
- Three dots – High heat
While considering these, if you’re still unsure, you should always start on lower heat and gradually increase it if the heat level does not work for your suit.
Start with the back section
You’ll start by pressing the back of the suit jacket first. Lay it out flat on your ironing board and smooth out the fabric to make sure that there are no creases. Next, gently press on the wrinkles that you spot. If your suit has a vent, make sure that you’re aligning them properly first before you press over them.
Flip to the front quarters
Once you’re done with the back, it’s time to work on the front part of your suit jacket. You’ll see two sides of the jacket, so you should focus on each one at a time. Let one side hang on the side of your ironing board, as you would to a normal dress shirt.
After that, press on the wrinkly areas. Start with the lower quarters first. If the suit has pockets and pocket flaps, raise them before running the iron over. Fold them back into place afterward.
Next, it’s time to make your way up. Make sure you don’t iron the sleeves yet, as you’ll do that later.
Ironing the jacket lapels
As you work on the upper parts of your suit body, you’d also be pressing on the lapels. Remember, when ironing the lapels, make sure that you don’t iron them while they’re folded!
Suits have “lapel rolls,” which is the natural roll of lapels as they fold over your torso. If you iron the lapels while they’re folded, you risk making them lose this natural roll, making them look flat, and making the jacket lose its overall quality.
Instead, fold the lapel back first, revealing its underside and aligning it to the front of the suit. Next, gently press the lapels as you would to other upper parts of the front quarters. Afterward, fold them back carefully.
Press on the collar
After finishing with the body, it’s time to press the collar. Unlike the lapels, you’re going to iron on the collar while it’s folded. Carefully press the iron on the collar and stay within its boundaries. It’s better that you let the iron press on the ironing board instead of the lapels.
Work on the sleeves
This is where it might get a bit tricky. It’s highly recommended to use a sleeve board when ironing the suit sleeves. This sleeve board prevents you from ironing both sides of a sleeve simultaneously and gives you more control.
When ironing the sleeves, iron only the middle part and do not go over the edges. Doing so would form a crease on your suit jacket, which would also ruin its overall look.
Iron the suit pants
Finally, if you’re done with the suit jacket, it’s time to iron the suit pants.
If your suit pants come with pocket linings, you should press on this before working on the main sections of your pants. Place the inside of the pockets on the ironing board and gently press on this fabric. You might think it’s unnecessary since no one would see the inside of your pockets, but if these are left wrinkled, it could affect how your pants look from the outside too.
Once you’re done, it’s time to press on the rest of your pants. Start with one pant leg by inserting it on the ironing board, from the waist opening to the cuff. Press on the waistband first, ensuring you get to iron around before starting on the legs. You can then proceed to the top part and work your way down the leg. Next, do the same thing for the other pant leg.
As a tip, pay attention to the pants’ pleats and cuffs when pressing. Make sure that you’re placing the pants following the existing pleats and that the cuffs are correctly aligned.
What is pressing?
After you’ve gone over the instructions above, perhaps you’re wondering why the term “press” or “pressing” is used.
From the term itself, “pressing” is the motion you’re doing with your iron when straightening out the wrinkles on your suit. While using an iron, you shouldn’t use the back and forth motion as you would when ironing your dress shirt or polo. Instead, you should just press down gently on the part of your suit jacket or pants that have wrinkles. You then lift it before moving to a different section.
You make this pressing motion instead of gliding it back and forth since the latter can create an unwanted sheen on your suit. Pressing prevents this from happening.
Keep your suit wrinkle-free
In the future, you can avoid ironing your suit multiple times as this might damage the fabric. Instead, keep it wrinkle-free by using the right suit hanger. Choose a broad hanger that’s made out of wood. It’s best to use a hanger that has the contours that follow the shape of the shoulder.
You can also use a good quality suit cover to ensure that your suit stays clean and wrinkle-free as you place it in your wardrobe.
Follow these steps and tips, and you’re sure to have your suit looking good as new!
Air Conditioning ( 3 )
Blinds installation ( 3 )
Building and Pest Inspections ( 4 )
Car Detailing & Car Wash ( 3 )
Carpet Cleaning ( 3 )
Carpet Installation ( 2 )
Custom Fish Tanks ( 2 )
Dry cleaning and ironing ( 3 )
Fencing Contractors ( 5 )
House Cleaning ( 7 )
House Painting ( 6 )
Ironing Service ( 1 )
Lawn Mowing ( 3 )
Pest control ( 2 )
Pool cleaning/servicing ( 3 )
Pressure Washing ( 2 )
Uncategorized ( 6 )
Professional Home Services at your Door
Get it all done with Sidepost - House cleaning, fencing, painting, and more.